Pick the walls, pick the pipes and ducts — MEP Openings cuts correctly sized openings wherever they pass through. When the services move, run it again: the openings follow, and every change is logged.
Everything you need to place openings, keep them right through design changes and hand them over to the structural team.
Select hosts, then pipes, ducts, cable trays and conduits. New crossings get openings, moved ones are updated in place, and unused ones are flagged.
Rectangular or circular openings with clearance per MEP type, rounding, minimum sizes, and automatic joining of openings that sit close together.
Works with MEP in the current model or in Revit links, including fittings, accessories, insulation and fabrication parts.
One report: openings that are up to date, changed, no longer needed or missing, plus the openings in the view that are not tagged yet — selected in one click.
Every opening in one list with its status (Created, Changed, Deleted, Up to Date), approvals, comments, clash checks and a full changelog.
Tags every untagged opening in the view and finds a free spot for each tag, so tags don't overlap each other or existing notes.
Chain dimensions along each wall to the opening centres, axis elevations to the level, and optional dimensioned sections per wall.
Click the corners of any shape to cut floors, walls or roofs — or create one shaft opening through several levels.
Send openings for review as BCF to Navisworks, BIMcollab or Solibri and read the answers back. Export lists to Excel or a shareable HTML report.
Each clip shows one command from start to finish. Click a clip to replay it.
Run the setup and pick your Revit versions. The tools appear on the Prygenix tab.
In Opening Settings, choose clearances, hosts to cut and how openings are shaped and joined.
Select the walls, floors or beams, then the MEP. Openings are placed, sized and cut into the host.
Run Plan Check, Smart Tag and Auto Dimension, and review everything in the Opening Manager.
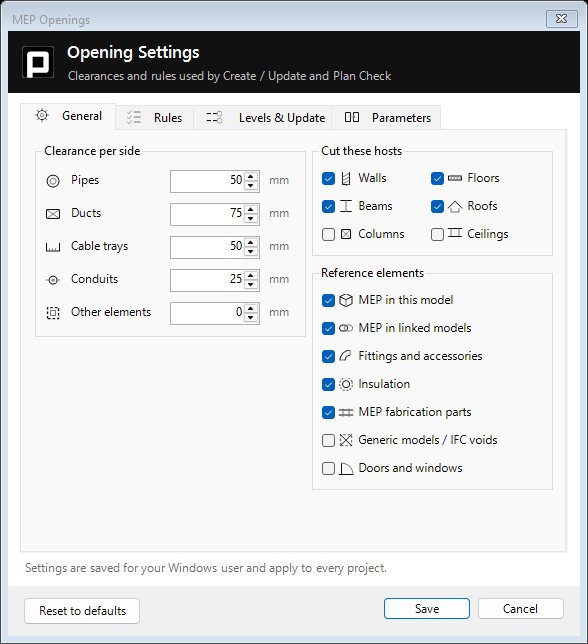
Opening Settings — the real window in Revit
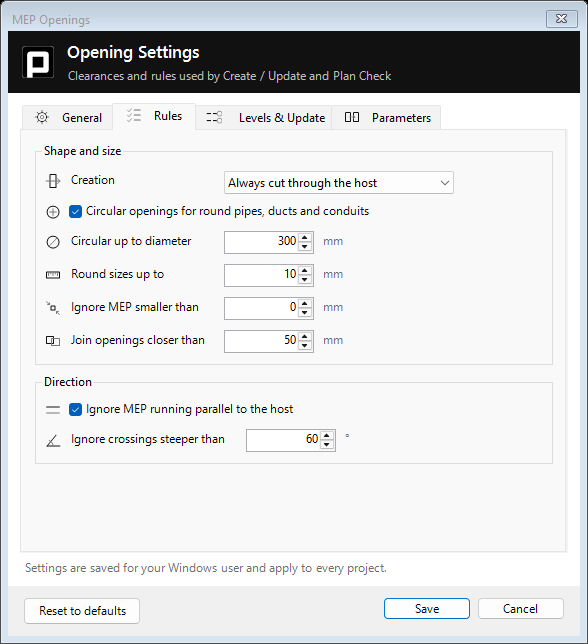
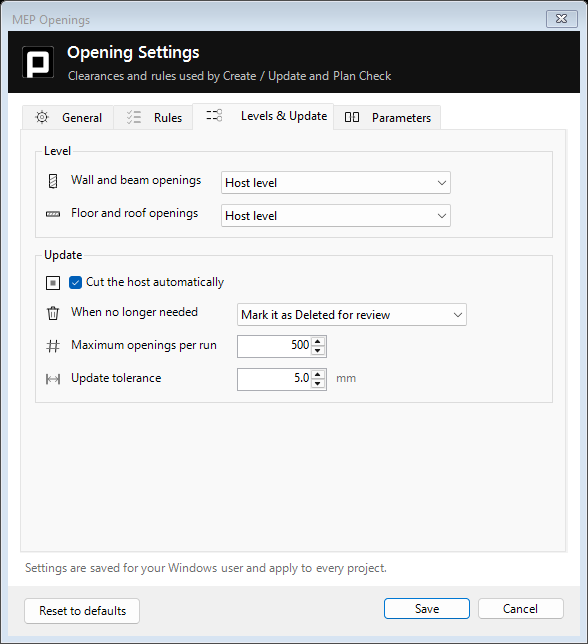
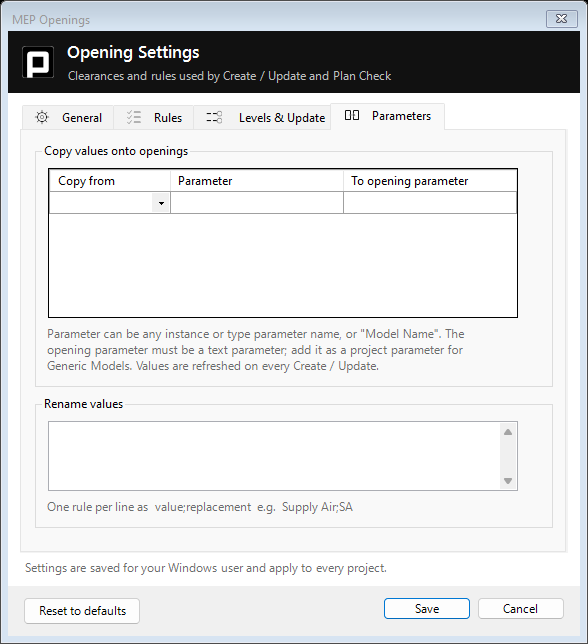
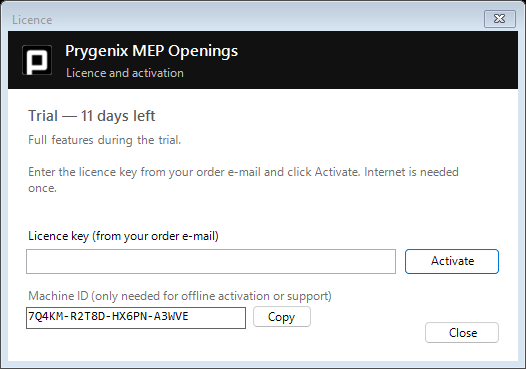
Prygenix tab ▸ Licence — paste your key and click Activate
No. Openings are ordinary Revit families with normal parameters, so anyone can open, view and print the model without MEP Openings installed.
Run Create / Update again on the same hosts. Moved services move their openings, new crossings get new openings, and openings that are no longer needed are marked for review (or deleted, if you choose). Tags and dimensions stay attached, and each change is written to the opening's changelog.
Yes. Turn on "MEP in linked models" in Opening Settings. Fittings, accessories, insulation and fabrication parts can be included too.
MEP Openings creates its own rectangular, circular and polygon void families the first time it runs, with all the parameters needed for tags, schedules and updates. Their names and parameters are listed in Opening Settings ▸ Parameters.
Export a BCF file from the Opening Manager for Navisworks, BIMcollab, Solibri or Revizto, and import their replies back. You can also export the list to Excel or an HTML report.
Yes. Internet is needed once to activate the key. After that the add-in works offline and quietly checks the licence about once a week when a connection is available.
On the old computer, open Prygenix ▸ Licence and click Deactivate (uninstalling does the same). Then install on the new computer and activate with the same key. If the old computer is no longer available, write to us and we'll release it.
Yes. Windows shows this for new downloads it hasn't seen often yet. Click More info, check the app name is Prygenix MEP Openings Setup, then click Run anyway.
No. It installs for your Windows user, appears in Settings ▸ Apps for uninstalling, and supports silent installs (/S) for IT teams.
Download the installer, choose your Revit versions and open Revit. No key or card needed for the trial.
 Prygenix Products